|
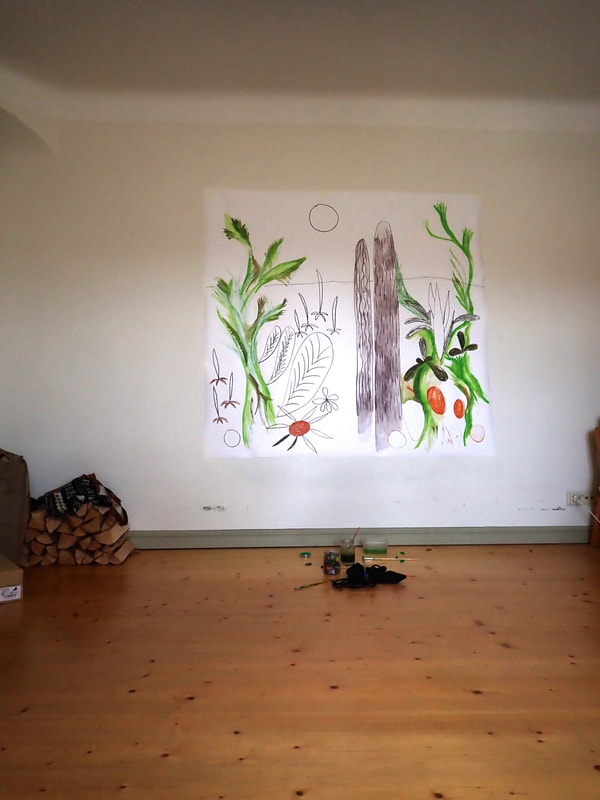
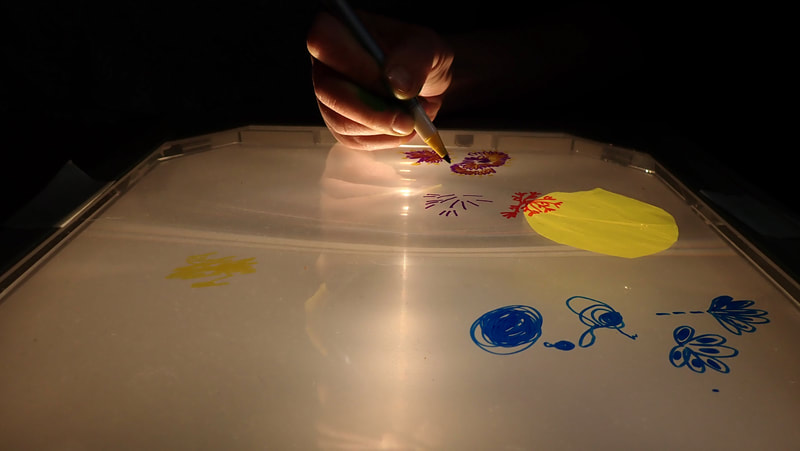
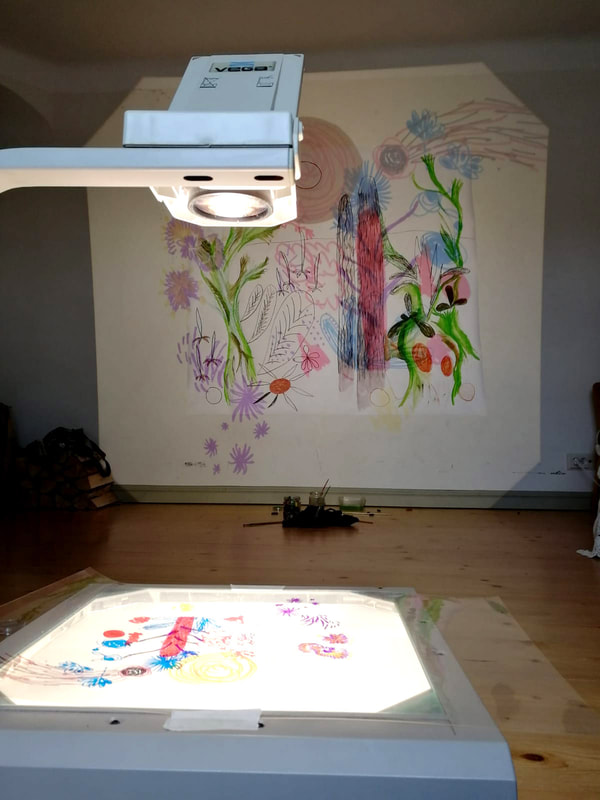
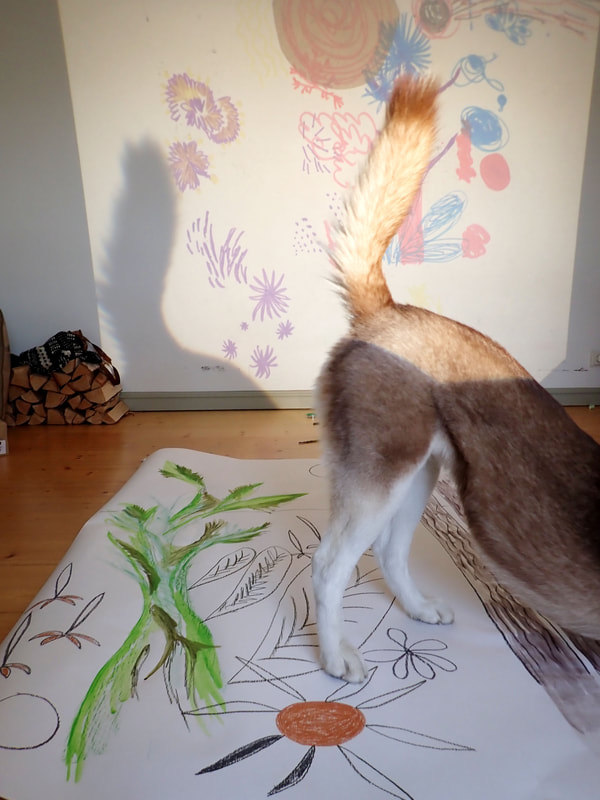
Colours of the Cretaceous period This exercise is an art-based time travel to the landscape of the Cretaceous period and the evolution of colourful flowers. It is designed for children aged around 6-12 years old, as part of art lessons in schools or clubs and suits well the phenomena-based education. The exercise is a part of our Bombus Medley material, and the first track of Bombus audio serves as nice introduction for this work. You can also read the text on the track here, it deals with the vegetation and colours of the Cretaceous period. Materials: – Large paper (for example a big roll) and masking tape – Green, brown and grey crayons – Different colours of marker pens – Overhead projector (manual or digital) or digital video projector Projector options: If you use a digital projector, you also need a painting program on your computer. Using a digital overhead projector, you need white paper and as vivid marker pens as possible. When using manual overhead projector, you also need transparencies and markers. Group size and time: The bigger the group, the more colourful the result will be, but it works well to embark on the time journey also by yourself or with just a couple of people. You need at least 60 minutes. – – – – – – – – – – Instructions: 1. Introduction: Listen to the first audio track of Bombus Medley or read the text together. 2. Colours of the Cretaceous: When you have thought about how the possible landscape on the Cretaceous period might looking like, you can start drawing it. For this you need to attach a big paper on the wall and you need three crayons in your chosen shades of grey, brown and green. 3. Flowering plants and the colour spectrum on projector: When you are finished with drawing the Cretaceous period on the paper, you switch on the projector and place the projection on top of the drawing. When working with manual overhead projector, you now need the transparency and markers. Now you can start drawing flowers, petals, bugs and vegetation in all colours, projected on top of the earlier landscape on paper. You can do this in small groups and each group can work with their own transparent sheet. If you have taken pictures or video during your working time, you can observe the change that occurred within the landscape. – – – – – – – – – –
Tips:
|
|
|
|
– – – – – – – – – –
Our materials are licensed under the Creative Commons Attribution-ShareAlike 4.0 International License: http://creativecommons.org/licenses/by-sa/4.0/. It means you can use our materials freely, but please remember to always credit our work and mention us whenever you are sharing contents of our project online: Instagram: @evolution_in_action, Facebook: @evoluutiopajat, Twitter: @EvoWorkshops. If you use our materials in teaching, we are happy to hear greetings and feedback. You can tag us on social media or send us an email: [email protected] Evolution in Action logo: jpeg, eps |
