Colourful animals
and their behaviour
materials for remote teaching
|
You can choose and adapt these activities according to the topics you want to teach. There are both science and art based exercises, which are suitable for phenomena based learning in Biology, but the exercises also have links to Geography, Arts, English and Mathematics.
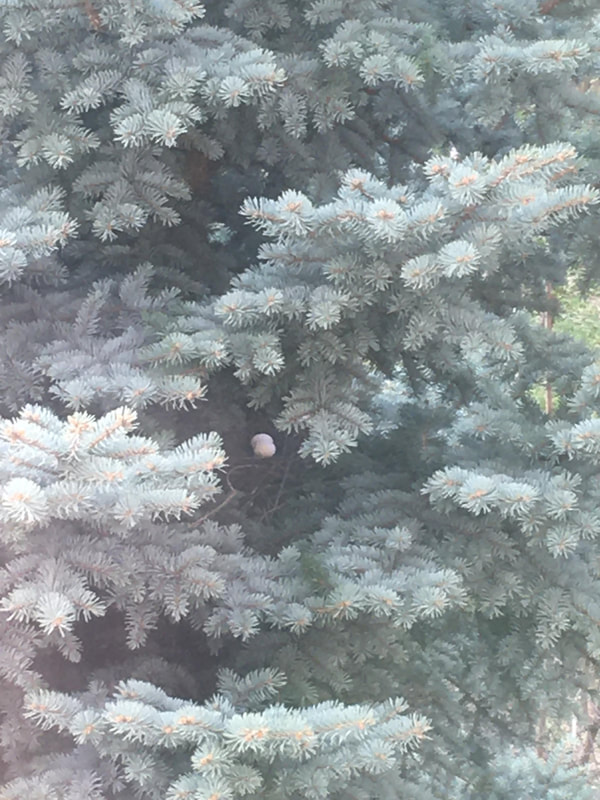
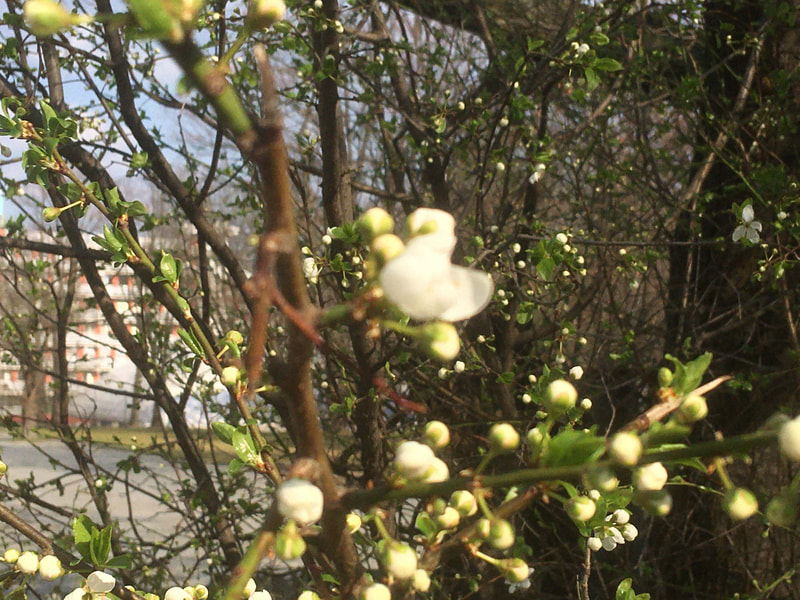
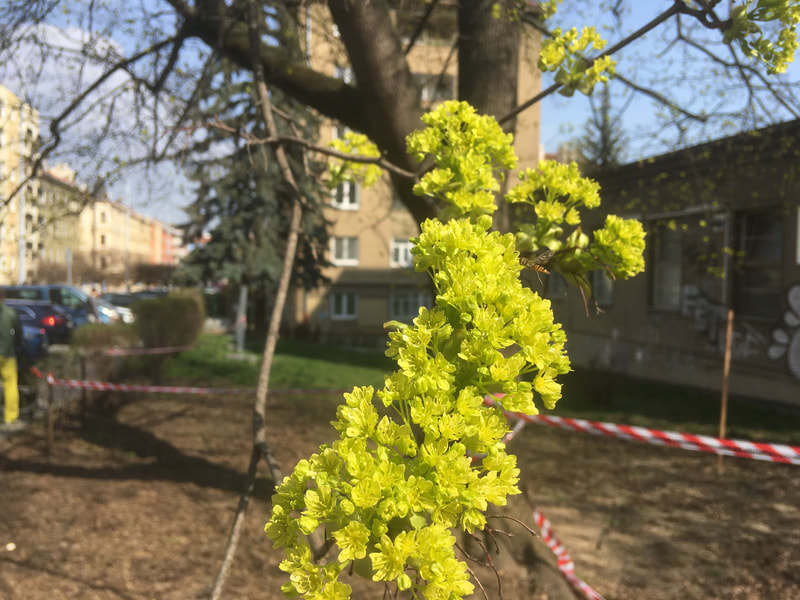
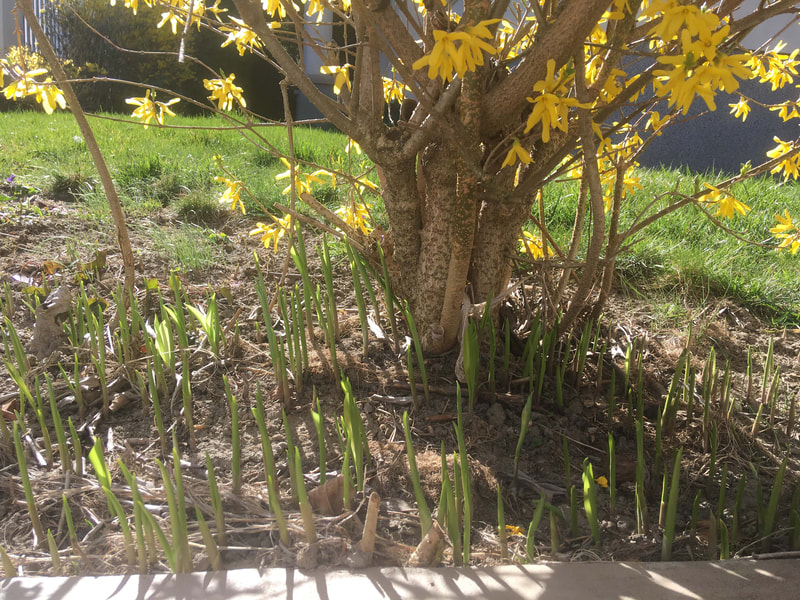
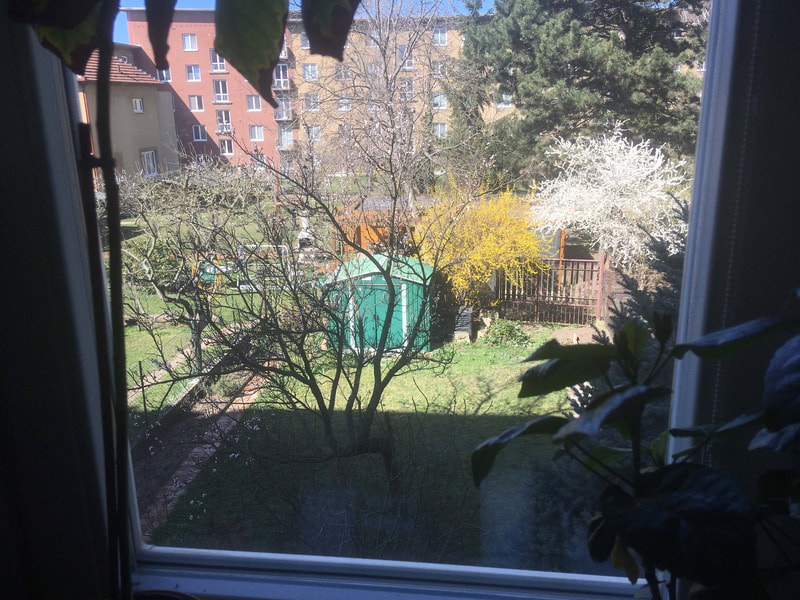
1. Interactive science introduction (+ slides) The goal of the introduction is to briefly describe how different types of protective coloration strategies function and how predators that use vision in foraging affect the evolution of prey coloration. This gives a good background for exercises 2-6. You can use video applications (e.g. Zoom, Meet, or Teams) to go through the introduction for the topic. You can either leave out the slides about the Protective coloration game or include them in your introduction. Alternatively, students can read through the Interactive introduction independently or some other publications related to topic, e.g. Aposematism explained. – – – – – – – – – – 2. Sensory Signals Like humans, other animals also navigate the environment using their senses, reading signals from their surroundings. Even though non-human animals do not have verbal communication like us to signal to each other, they communicate in multiple other ways (like using warning signals and colours), and can have their own language systems that we just do not understand. In our daily human lives, verbal cues can be quite dominating over other ways of communicating and interpreting the environment. But we are constantly receiving and being influenced by many other kinds of information as well. What if we set our verbal communication aside for a while, and try to explore what other signals we are receiving from our surroundings constantly. What kinds of knowledge will we get from the environment then, and how would we navigate with it? If there were no written signposts to say where to go, which places would you feel drawn to? Materials needed: * Simple note making tools (pen and paper). This exercise is done outdoors, exploring your own yard, nearby park or forest. The chosen area should ideally be calm enough to allow a period of silence and focus for the participant. Tasks for the student: What kinds of signals did the environment deliver to you? Which colours, shapes, smells or sounds attract you, and which ones did you turn away from? Move around the area, and make visual or verbal notes and sketches about your observations and impressions. It's good to have a minimum of 20 minutes and up to 1 hour for this sensory exploration, as it takes a while to tune in to the environment. It can be useful to start the exercise by standing in silence with your eyes closed in order to give yourself time to settle into the environment and quiet the mind. Did you find anything new or unusual from the familiar surroundings? – – – – – – – – – – 3. Strange creatures club What sorts of warning signals and defensive capabilities can we imagine other creatures to have? The task is to create a collection of imagined plants or insects that communicate with their environment using a colourful variety of signals. Participants can use notes from their sensory environment exercise as supportive material for this exercise. Materials needed: * Paint, pens / pencils, markers etc. drawing and painting materials. * Big paper / cardboard. Create your own imaginary plant or creature that uses either protective or warning colours against predators. Who does it want to protect itself from, or who does it want to attract? What kind of shapes, smells, colours, sounds or other means does it use for protection or warning signals? What kind of environment does it live in? What is the new species called? You can also make use of the information heard in the lecture and sensory notes you collected outdoors as your inspiration. Students can take photos of their work and send them to the teacher. The Teacher can then combine them into the classes' own collection of strange creatures. it would be great for each student to have the opportunity to then show and explain what their creatures are, and how they behave. Extra tasks: * Groups can also create a soundscape for their creatures, which can be recorded. * The creation can also be a small installation or sculpture of the creature. Students can work outside, where they first choose a habitat for the plant / creature to live in and then make the creature by using materials found from the environment (together with clay, string, etc.). Afterwards, students can take photos of their work and write a small description of it. The teacher can then combine photos and information into the classes' own virtual art trail. – – – – – – – – – – 4. Story of my window This exercise is mainly meant for those kids who cannot go outside or as an alternative indoor observation exercise. This can also be combined with practice 3. "Strange creatures club". Ask your students to choose a friend they would like to work with in a pair: Take a seat by the window and carefully observe the world outside for at least 10 minutes. What are the first signs of spring? Which flowers are blooming first? Can you see some birds? What kinds of plants and trees you can see? And do you see any insects flying around? Do you recognise them? What are their names? What kinds of colours and movements can you see? What is the weather like? Children can make notes during their observation and afterwards write text to try and describe the view from the window in as much detail as they can. With help from parents, books and the internet, they can also try to discover the names of species and include them in a story. When “story of the window” is written they will exchange it (by email, whatsapp message etc.) with the friend from their working group: Now you have a story of your classmate’s window. Read the letter carefully, close your eyes and try to imagine. Take a piece of paper and colouring supplies (you may choose if you would like to paint or draw) and create an illustration of your friend’s window story. When you are done, send a photo of the painting back to your friend. In the end, children can also exchange real photos of their window views, which teachers can collect on the classes' webpage. – – – – – – – – – – 5. Spot the bug! In these small exercises students can make their own observations about insects and other animals and collect their own small scientific data set. Students can choose a place outdoors to make their own observations for a certain time period (e.g. 1-3 h, 1 day or even 1 week). They may choose for instance a nearby forest, garden, park or even their balcony. You can modify the tasks according to the participant’s age. From the science introduction you can learn that the most common way to be protected from predators is to rely on camouflage or cryptic coloration, which makes prey difficult for a predator to detect. The opposite strategy to camouflage is warning colouration, which animals use to advertise their unprofitability, toxicity or some other unpleasant characteristic (e.g. a wasp sting) to predators. There are also other means to escape from predators via colouration. For example, prey can mimic something that is not edible or not interesting for a predator such as dead leaf, twig or bird poop. Some prey can mimic something that scares the predator or reminds predator about some unpleasant experience. For example, many hoverfly species mimic bees and wasps and are avoided by predators who do not want to take the risk of getting stung. A) How many camouflaged, warningly coloured and mimetic species you can find from the place you chose? Which strategy did you expect to be most the common? How did the colour and size of the organism affect its detectability? What kinds of organisms were hardest to find – what were easiest? You can make your notes on the bug inventory form or use your notebook. You can compare your observations with your classmates: Were your observations different from others? Was there variation in the coloration depending on the type of environment you chose (e.g. park vs. forest)? B) When you notice for example a butterfly or green caterpillar, try to measure how far away it was (you can use ruler or number of steps) and write it down. What kinds of animals did you notice from far away and which were visible close up? Did the animal make any sounds or displays when you approached it or was it just staying still and silent? How did you detected it – was it moving or staying still? With younger students you can focus on monitoring differently coloured insects, birds, mammals, reptiles etc. you can find outside; which are easy to find and which are difficult to find? Was there any e.g. insect caterpillar or butterfly that was difficult to recognize as an insect (e.g. stick mimicking caterpillar)? More advanced students can use the data they collect to draw graphs (e.g. bar charts) and compare their results based on those graphs. For example, what proportion of the animals you spotted were brightly coloured or what was the mean distance at which you detected brightly coloured animals vs. camouflaged animals. Students can also practice making hypotheses before they collect their data and then evaluating how they were met by their data and observations. – – – – – – – – – – 6. Researcher on the couch In this exercise participants can make observations of animals and their behaviour via wildlife web cameras. Participants will also learn about species distribution and vegetation zones. Choose 3 - 5 different animal species that live in different parts of the world that you can monitor via wildlife web cameras (listed below). Follow their behaviour via webcams and collect your own time-budget data. Here are some options for the wildlife-webcameras. Live-cams from Finland Live-cams in Estonia Wild animals in Africa Live-cams across the world Live-cams for nesting birds 1. Which animals did you choose to watch? List the animals in your notebook. 2. Time budgets: One of the basic tools behavioural ecologist use to monitor an animal’s behaviour is a time budget. Here you can practice collecting your own time budget data. First choose the time period you will monitor the behaviour of your animal. It can be e.g. 10 minutes per species. Next, start observing the animal and record with e.g. timer of your phone how many minutes the individual you are observing spends for different activities: resting, moving, foraging/finding food, taking care of its offspring, monitoring/guarding its territory. You can make notes in your notebook. Which task occupied most of the animal’ time? What time of day was it where the animal lives? Is your animal a day-active or night-active species? 3. Species distributions: for the species you chose to observe, check species distribution maps from the internet. Which parts of the world can you find them? For many species you can find this information from Wikipedia or (unfortunately) from the IUCN Red list: https://www.iucnredlist.org. Remember to mark down your source of information. 4. Vegetation zones: You can also find out what vegetation zone your species belongs to from this map. More information about vegetation regions can be found e.g. from here. 5. Define vegetation zone. 6. Draw your favourite species and its vegetation zone. You can try to find more information about its behaviour and life history from the internet e.g. what it eats – is your species a carnivore, herbivore or scavenger? Extra task: You can also collect a time budget from a member of your family or your pet. How many minutes do your family members spend resting or reading messages from their mobile phone? – – – – – – – – – – We would love to see the outcomes of these activities! So if you publish them on Instagram or Twitter please tag us (@EvoWorkshops for twitter, #evolution_in_action for instagram) on your publication or send them to us by email: [email protected]. You can also use #storyofmywindow for the pictures and stories in task 4. |
|

